Upgrade Process - Windows
This Windows Upgrade process uses InstallAnywhere. Use this process to upgrade all Windows-Based Systems.
Backup up Server/DB
Source CruzOC Environment Variables:

Windows: cmd> oware


Backup ALL Databases into one file
• cmd> mysqldump -uroot -pdorado --single-transaction --all-databases --triggers --routines --events >all_databases.sql
Start the Upgrade
- Download the CruzOC package to the desktop of your windows server
- Start to install by Double Clicking the installer file, for example, CruzOC_SingleInstall_Windows_9.0.0.99.exe
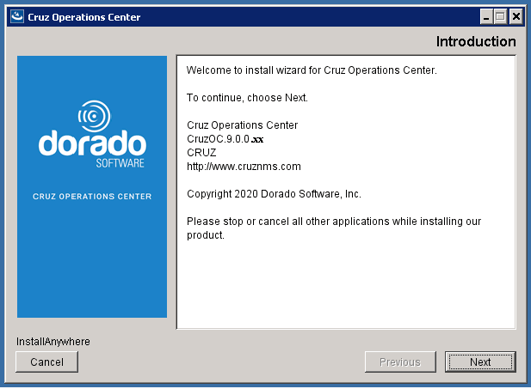
Introduction and Product Version Information
-
Review Introduction and Product Version
-
Click Next
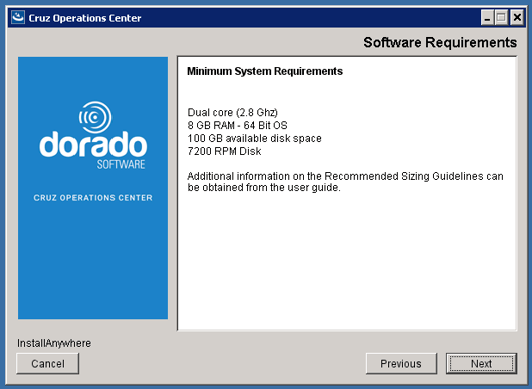
Software Requirements
-
Review Minimum System Requirements
- If you need to add resource click [Cancel]
-
Click Next
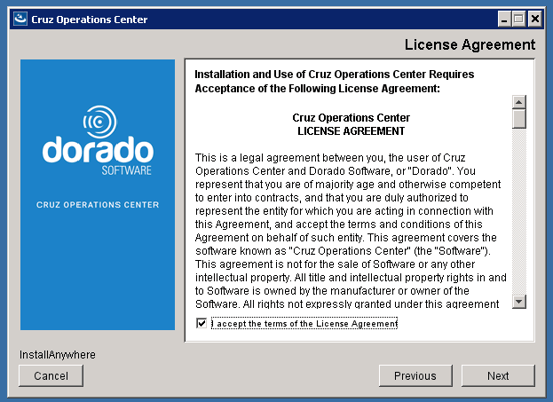
License Agreement
-
Check [ ] checkbox
-
Click Next
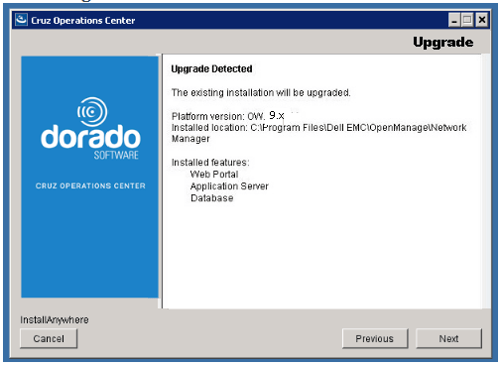
Upgrade Detected
-
Review Upgrade Information
-
Click Next
Database Upgrade Detected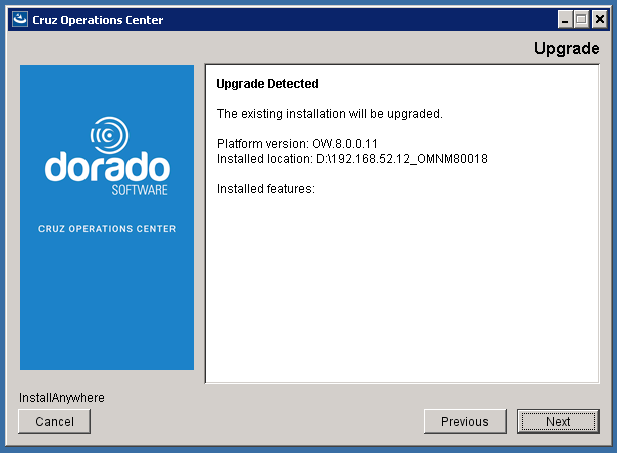
-
Important - Please Read
-
Click Next
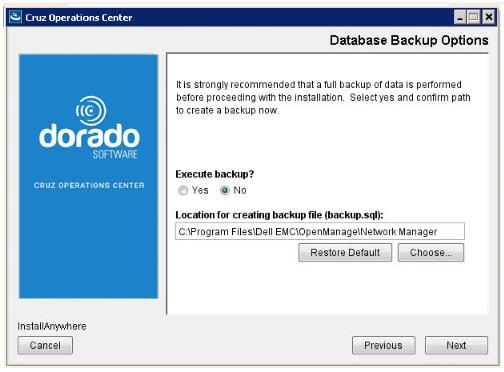
Database Backup Options
-
Database Backup Options - This was completed before the upgrade
-
Click No
-
Click Next
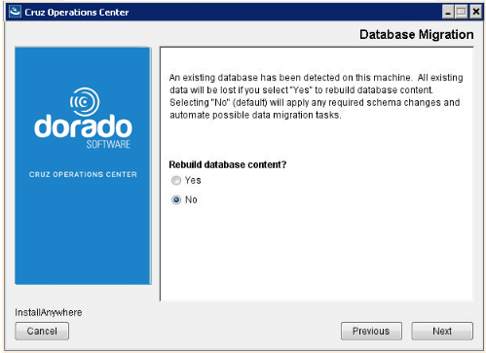
Database Migration
-
Review the Data Migration screen
-
Click No (keep your database)
-
Click Next
Heap Settings

-
Heap Setting will display your current server settings from the properties file.
-
Click Next
Pre-Installation Summary

-
Review the Pre-Installation Summary
-
If you see something incorrect, please click [Previous] to the screen you need to adjust.
-
Click Install
Upgrade Process
The upgrade starts by gathering system configuration information

Continuing the upgrade, the screens will rotate during the upgrade process

Install Completed

-
Upgrade Install Completed Successfully
-
Click Done
The upgrade will automatically start the App/Web/DB. This will take 5 to 7 minutes for the system to completely initialize.
Log in to CruzOC
-
In a Browser enter the Server IPAddress
-
http://{ServerIP}:8080 > Port 8080 will automatically be converted to https://{ServerIP}:8443
-
You are also to directly access https://{ServerIP}:8443

If you need further assistance please contact Dorado Support and open a ticket.
Author: TV 12/18/2019
QA: SW 05/20/2020